
8 Effective Steps to Teach Your Dog to Sit

Learn how to teach your dog to sit using consistency and reward-based techniques that make training fun and effective. We’ll cover when to start, what tools to use and how to troubleshoot common training challenges.

Reviewed by Antonio Diaz

Written by Abbie Mood

February 27, 2026

Teaching your dog a basic command like “sit” can be an important step toward having a well-behaved pup and preventing behavior problems before they start. If your pup is trained to sit, you can use sit when greeting guests to prevent jumping. And getting the sit command down can make it easier to teach focus, impulse control and patience — sit can even become a way for your dog to say “please” before you throw a ball or give him his food.

Training “sit” isn’t always easy. Whether you have a distractible puppy, a distracting environment or your dog’s bottom just won’t stay on the ground despite your best efforts, read on for some tips to have your dog sitting pretty.

Why Teaching Your Dog to Sit Is Important

Teaching your dog to sit can help build the foundation for good behavior and for training other skills, such as “down” or “stay.” And when your dog learns through positive reinforcement — rewarding them for doing the right thing rather than punishing them for mistakes — they’re more likely to enjoy training, build confidence and, more importantly, strengthen their bond with you and your family. Positive-reinforcement training methods don’t always mean “treat training.” It can be based on what motivates your dog, and while that may be treats, rewards can also include praise, toys, play and/or affection.

When your dog learns to take direction from you and that following your lead gets them things they love, it can help encourage responsiveness to your commands in various situations, including emergencies.

Dogs also need both physical and mental stimulation. Formal obedience training sessions packed with positive reinforcement can give your furry friend the opportunity to think and make choices, engaging their brain and reducing destructive behaviors.

The benefits of sit, number one, your dog listens to you. Plus, it's great mental stimulation, and you get to bond with your dog.
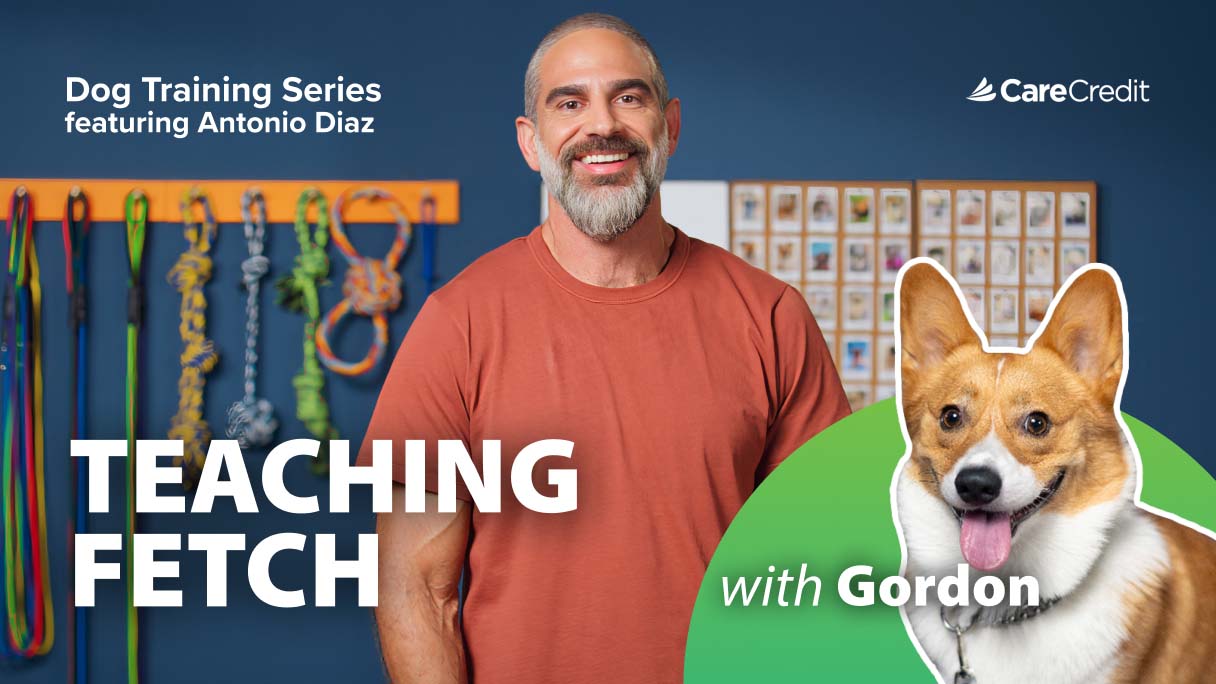
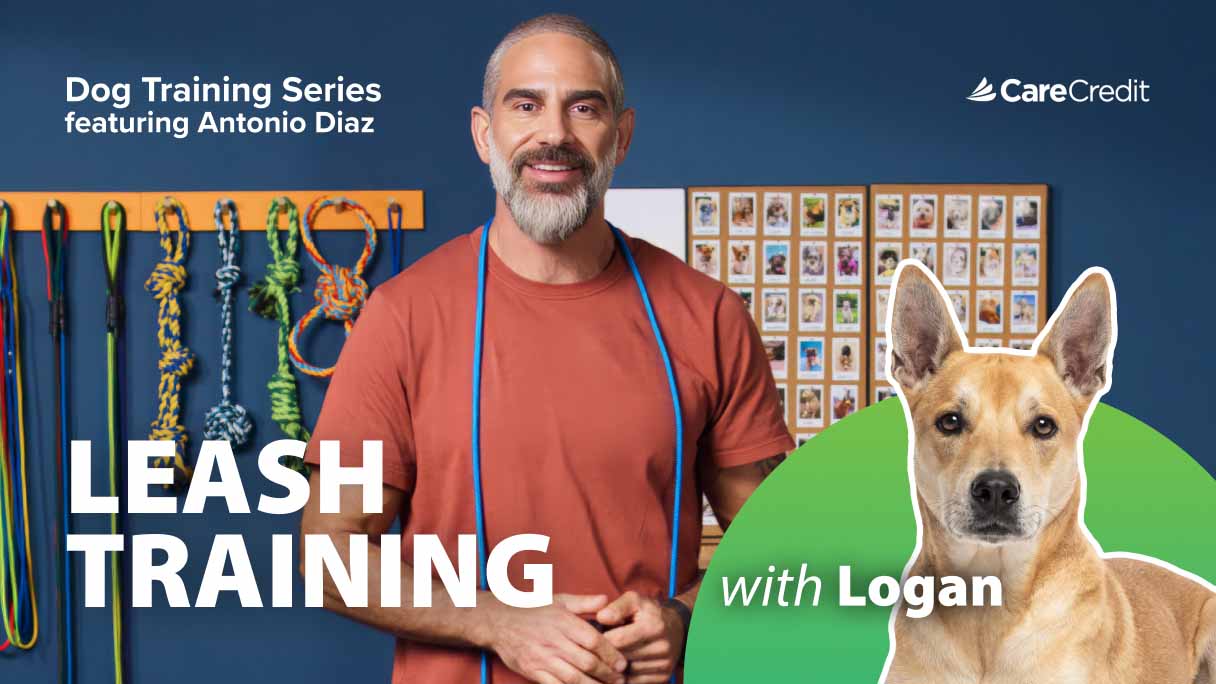
Antonio Diaz

Professional Dog Trainer

What Age to Start Training Your Dog

You can start training your puppy as soon as they come home — just keep sessions fun, lighthearted and short (five to 10 minutes) and try to end on a happy note. For older or rescue dogs, it’s not too late to teach them “sit” or any other command, but you might have to undo some naughty learned behaviors and make sure they are physically able to perform the behavior.

Tools and Supplies You’ll Need for Dog Training

  • Collar and leash (or slip leash)
  • Treat pouch
  • Food or high-value treats
  • A positive attitude

It’s a good idea to have your dog on a leash during training so that when the time comes, you can quickly and easily guide them.

If you decide to use treats, it can be helpful if it’s something your dog loves. Use the food you normally feed them if they’ll work for it, because you can replace your dog’s feeding time with training. If not, have a tasty treat that is used only for training to make it even more valuable to your dog. Treats should be small (about the size of a pea or dime, depending on their size), quick to eat and don’t crumble. This keeps the momentum going with training and learning. (Note: It’s recommended that calories from treats make up no more than 10% of your dog’s diet.)1

You may also choose to use a clicker to help your dog learn faster. A clicker is a small mechanical noisemaker that “clicks” when your dog does what you’re asking. This tells your dog they’ve done the right thing and that a reward is coming. You could also say “yes,” or “good,” snap your fingers or cluck your tongue. All of these things are called markers because they “mark” the correct behavior.

The key is pairing the click, word or sound with a reward before training. To do this, simply click or say “yes!” and immediately reward your dog 20-30 times in a row. Now, when your dog sits, you click, and they will learn that sitting gets the click, which leads to the reward.

Step-by-Step Guide to Teaching Your Dog to Sit

When your dog is first learning how to sit, ensure they are calm and in a low-distraction environment, like a quiet room or garage. Put other dogs away, too, so there aren’t any extra noses interfering.

Now, let’s break down the step-by-step process of teaching your dog to sit.

Step 1: Get your dog’s attention

Reach in your treat pouch, grab one and show it to your dog. Put it right in front of their nose.

Step 2: Use a treat to lure your dog into a sit position

Slowly lift the treat up and back toward the top of their head, between their ears. As your dog looks up to sniff the treat, their rear end should go down to the ground.

Sometimes a dog will just back up. Don’t push on their back or bottom, just lower your hand down to nose level, take a step back and start the lure over again. If they continue to back up, it can help to be closer to a wall, the couch or something that will stop their backward movement.

Step 3: Reward immediately and praise

As soon as your pup’s rear end hits the floor, mark the behavior (“yes!”) and reward them.

Step 4: Release your dog

Use a release word. This teaches your dog when to get up. You have a couple of options here: “free,” “break,” “OK” and “release” are the most common.

As soon as you reward your dog, say your release word and encourage them to get up by stepping away from them and clapping or tapping your legs. If your dog gets “stuck” in the sit, you may lure them out of position or toss a piece of food after you say the word (make sure you say the release word first!). Try not to make a habit of rewarding the release or else your dog may find more value in getting up as opposed to staying in position.

Repeat steps 1 through 4, 10 to 15 times.

Step 5: Add the verbal cue “sit”

Once your pup seems to understand the idea of the lure and is sitting quickly and consistently, add the cue “sit” just before you start the hand movement. Say the word “sit” once, loud and clearly. Be careful not to repeat it, or your dog may learn to tune you out.

Step 6: Fade the lure and randomize rewards

At this point, your dog should be associating the verbal command “sit” with putting their butt down, so you won’t need to lure them every time; you can just say “sit,” and they’ll sit. This is called fading the lure. However, if you ask for a sit and they’re not responding, definitely help them with a lure, but be sure to make a point to fade it out.

At this time, you can also start randomly rewarding each sit. Think of it like a slot machine (but with better odds). Your dog will keep playing because they never know when you’re going to reward them. It’s not every time (like when you’re first teaching them), but it’s often enough that they’re willing to keep trying. If you stop rewarding your dog at once (a common mistake), they will stop performing the command.

Step 7: Practice the “3Ds” (duration, distance, distractions)

This is the “stay” part of training. Each of these “3D” components will be worked on individually and gradually to set your dog up for success. Your dog will need to wear a leash so you can guide them when they make a mistake.

Note: You do not need to use the word “stay.” This approach uses an implied stay, meaning your dog will learn that “sit” means to put their bottom down and “release” means they can get up. You can still use the word “stay” if you’d like, but it is not necessary.

Duration. This is the first and easiest step to add. Ask your dog to sit. When they do, wait 2 to 3 seconds before rewarding, but don’t release them. Then continue to reward intermittently and randomly every 2 to 5 seconds for a total sit time of about 30 to 60 seconds. You are now teaching your dog that simply staying in this position earns rewards. Release them, then repeat. A good goal is a 60-second sit with 2 to 3 rewards during that time frame.

Distance. Next, you will start to move away from your dog while they remain in position. Ask for a sit. When they do, immediately take one step back, pause for a second, then step forward to them and reward. Repeat this, gradually adding 2 to 3 more steps away, coming back frequently to reward them. You are teaching your dog that even though you are stepping away, if they stay in position, they get paid. After a few repetitions of them doing well, release them and repeat the process. A good goal is for you to be at the end of the leash for about 60 seconds, giving a few rewards during that time (you must return to them to reward). Keep in mind that distance becomes linked with duration, meaning you are now stepping away, and duration is part of the exercise.

Distractions. “Distractions” is an umbrella term that refers to anything in the environment your dog thinks is a reason to get up. The food you’re using to reward your dog acts as a distraction to work them through. Ask your dog for a sit. When they sit, reward them, then gently toss a treat on the ground about 3 feet away. If your dog stays in position, reward them again. If they get up, use the leash to physically stop them from reaching the treat, guide them back into a sit and try again.

Once your dog is responding well and not going for the tossed treats but sitting patiently, you can release them and let them have the treats.

At this point, your dog is learning a few things:

  1. Breaking the sit without permission will not earn the tossed treats
  2. Staying in the sit is a guaranteed way to get rewarded
  3. Listening to you means they will eventually get the tossed treats anyway

This teaches impulse control and patience. A good goal is for your dog to not only ignore the tossed treats but also look at you on their own, even with the treats nearby.

Once you’ve covered the “3Ds,” you can start mixing everything up — tossing food, moving away, staying away longer, etc. This steady progression builds your dog’s confidence and reinforces that paying attention to you is always rewarding, while also preventing the habit of breaking position and tuning you out.

Tip: It can help to have training sessions in place of meal time, when your dog is hungry and more likely to be food motivated.

Step 8: Add corrections and guidance

When you are working on duration, distance and distractions, your dog will likely pop up from their sit. This is both normal and expected. It’s at this point that you want to add corrections.

Here’s how to do it:

  • Give a verbal correction marker. This can be “no,” “ah-ah” or “nope.” Pick a word and stick with it.
  • Immediately following the “no,” give just enough leash pressure to physically stop your dog from wandering away or getting the tossed food.
  • Guide them back into the sit by holding gentle leash pressure upward and slightly back toward their tail (at about a 45-degree angle).
  • Tell them “sit” and as soon as they sit, release pressure. The key words here are “gentle” and “guidance.” Yes, you are correcting your dog, but do not yank on the leash or get angry. This is new to them and they are learning. Your goal is to handle them calmly and confidently.

Note: If your dog is consistently popping up and most of your training is spent correcting them, you’ll need to break down each step and focus on gradually increasing difficulty while rewarding more frequently.

Here are a few examples:

  • For duration, reward quickly and more frequently during your “sit” window. Instead of a reward every 2 to 5 seconds, reward every 1 to 2 seconds, then increase the time between rewards.
  • For distance, start with a half or even quarter step back and reward your dog frequently for staying. Then progress to one full step back, and so on.
  • For distractions, drop or place the treat on the ground instead of tossing it. Reward your dog generously for staying, then begin tossing.

Tips for Success When Teaching “Sit”

Even though sit is one of the most basic commands, it may not always be the easiest. When teaching your dog to sit, remember:

Illustration of dog sitting
  • Avoid pushing on their back or hind end. You want them to learn to do the behavior on their own.
  • Don’t yell or harshly handle your dog. That will only confuse them, discourage them and set back the process.
  • If your dog is having an off day or just isn’t getting it, give them a break and try again later or the next day. Frustration is counterproductive to learning.
  • Reward every correct attempt (at least until you’re ready to randomize the reward). This goes for “sit,” “reward,” “release” and the “3Ds.”
  • Don’t reward mistakes. When working on the “3Ds,” if your dog pops up and you correct them, then immediately reward them once they sit again, they will learn to pop up to facilitate the reward.
  • Use the same command, tone of voice and marker every time. Make sure everyone involved in training your dog is doing and saying the same thing to maintain consistency.
  • Incorporate calm affection during training — this can expedite learning.
  • Keep sessions short and fun and incorporate multiple training sessions throughout the day — they’ll add up.
  • Always use your release word and guide your dog back into position if they get up without permission.
  • Use a leash. If you rely on food alone, your dog won’t listen unless you have food.
  • Use a food bag to free up your hands and help your dog focus on training instead of the food in your hand.

Situations to Reinforce “Sit” Training

While you may be concerned about the time investment to train your puppy or dog, “sit” is one that’s easy to build into your routine and capture when your dog does it on their own. Besides a training session, here are some other examples of situations to ask for a sit or to reward your dog when they do it on their own:

  • As you’re preparing their food
  • Before you set down their food bowl
  • Before you let them out to potty
  • Just before you throw a toy (say your release word before you throw)
  • When you are just hanging out watching TV
  • When you want to give affection
  • When you come home (this one can be really tricky — they’re excited to see you! — so it can help to first reward them for four paws on the ground and work your way up to a sit)

Troubleshooting: Things to Consider If Your Dog Won’t Sit

If your dog simply won’t sit, one of the following things might be going on.

Issue Solution
Your dog may have an underlying medical issue, such as hip dysplasia. Take your puppy/dog to the vet for an exam just to be sure.
They might not actually know the command or understand what you are asking. Ensure you’ve given them enough repetitions, and they are consistently sitting when lured.
The reward value isn’t high enough for them. Find a different treat or food that they’re excited about.
The corrections are inconsistent, which means the dog has learned they don’t have to listen every time. Calmly correct your dog every time — while they’re still learning the command and after, for consistency.
If your dog associates “sit” with a negative experience like harsh handling or being yelled at, they may be resistant to trying it again. Retrain with positive reinforcement strategies and a playful attitude.

If you’ve done all of the above and troubleshooted using our tips, you may need to consult a professional trainer for assistance.

Successfully Teaching Your Dog to Sit

Teaching your dog to sit is a simple yet valuable step you can take to build trust, improve communication and prevent problem behaviors before they begin. Through consistency, patience and positive reinforcement, your dog can learn not only what you’re asking but also that listening to you is rewarding and safe. Every “sit” strengthens your bond and can set the stage for future training success.

Frequently Asked Questions

Do you still have questions about teaching your dog to sit? Here are answers to some commonly asked questions by pet owners.

Icon Question Mark
Icon Question Mark
Icon Question Mark
Icon Question Mark
Icon Question Mark

CareCredit Credit Card Financing for Dogs

The CareCredit credit card provides a convenient way to pay for your dog’s vaccinations and other health and wellness expenses, including exams, medications and products at providers in the CareCredit network.* Continue your wellness journey by downloading the CareCredit Mobile App. You can find a provider on the go, manage your CareCredit account and easily access the Well U blog for more great articles, podcasts and videos. Use our Acceptance Locator to find a veterinarian that accepts CareCredit to help keep your pet healthy and happy for a lifetime of love.

In addition to pet care, you can also use your CareCredit credit card for dentistry, cosmetic, vision, hearing, health systems, dermatology, pharmacy purchases, spa treatments and so much more within the CareCredit network. How will you invest in your health and wellness next?

Expert Bio

Antonio Diaz, founder of Leader of the Pack K9 Training, is a professional dog trainer and behavior expert with more than a decade of experience in rewards-based balanced training and behavior rehabilitation. Known for his clear communication and ability to simplify complex behavioral concepts, he helps owners develop well-mannered dogs through relationship-based leadership. As director of education for the International Association of Canine Professionals, Antonio helps shape industry standards, professional development and ethical training practices. He also creates online courses and serves as a canine subject matter expert for CareCredit.

Author Bio

Abbie Mood is a freelance writer with more than 15 years of experience. She has worked with clients of all sizes to create compelling content and she has written for the American Kennel Club, Marriott Bonvoy, Women’s Health Online, Headspace and more.

*Subject to credit approval.

The information, opinions and recommendations expressed in the article are for informational purposes only. Information has been obtained from sources generally believed to be reliable. However, because of the possibility of human or mechanical error by our sources, or any other, Synchrony and any of its affiliates, including CareCredit, (collectively, “Synchrony”) does not provide any warranty as to the accuracy, adequacy or completeness of any information for its intended purpose or any results obtained from the use of such information. All statements and opinions in this article have been evaluated and are supported by the expert reviewer. The data presented in the article was current as of the time of writing. Please consult with your individual advisors with respect to any information presented.

© 2026 Synchrony Bank.

Sources:

1 Cornell Richard P. Riney Canine Health Center. Accessed December 23, 2025. Retrieved from: https://www.vet.cornell.edu/departments-centers-and-institutes/riney-canine-health-center/canine-health-topics/re-evaluating-your-dogs-diet